Working with a specific static site generator?
Customize CloudCannon's documentation to suit your SSG.
Great! We'll show you documentation relevant to .
You can change this any time using the dropdown in the navigation bar.
Enforce Single Sign On for your team members and increase security by using CloudCannon with SAML.
CloudCannon is set up as a Service Provider (SP) to allow Single Sign On (SSO) for your Organization. To use this feature, you need to be on our enterprise plan and already have your own Identity Provider (IdP).
Configuring SAML#
SAML can be a tricky thing to configure with only one end of debugging. If you would prefer manual assistance with setting up, please contact support.
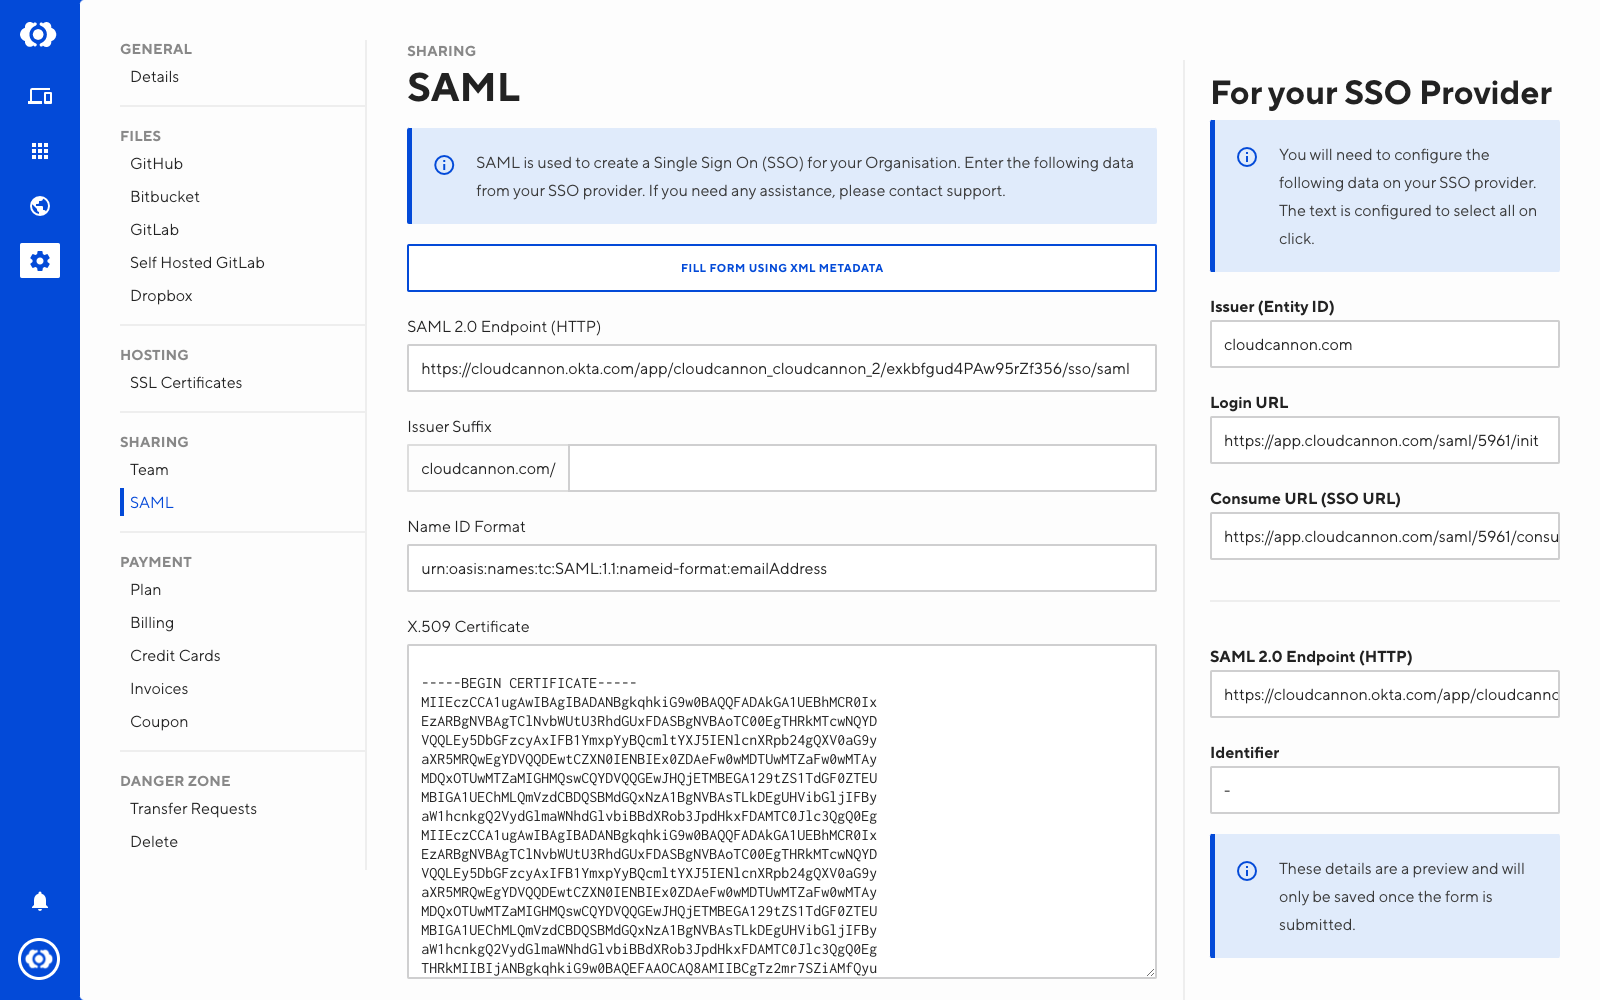
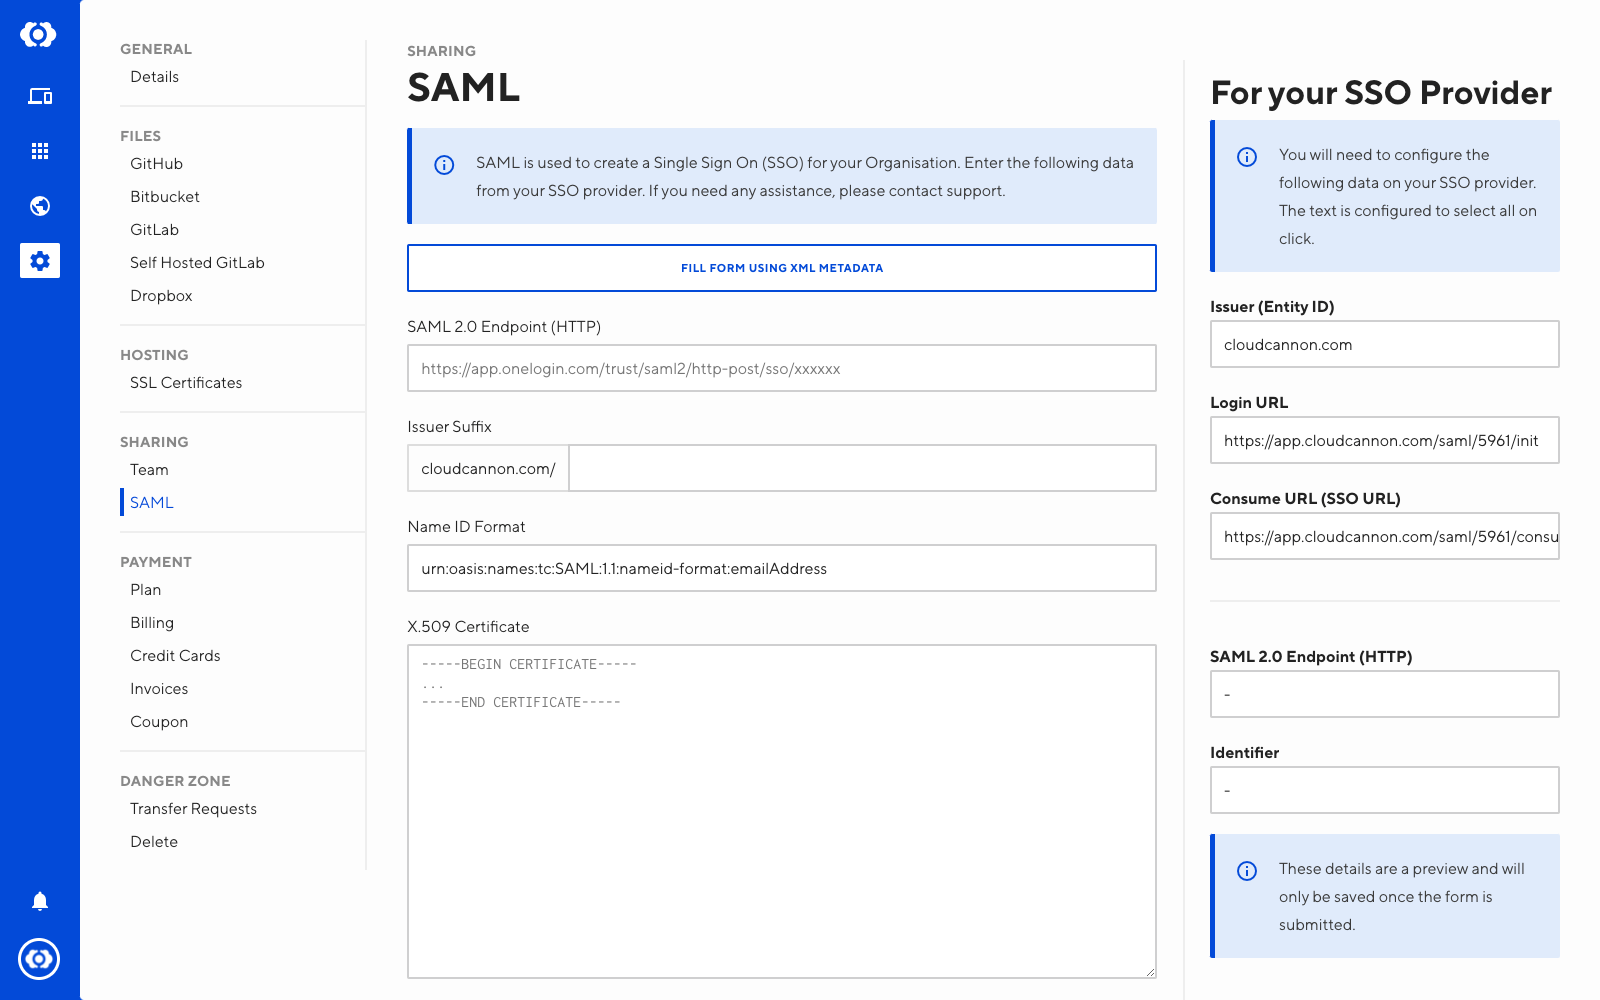
To configure SAML with your IdP you will need the following details:
- SAML 2.0 Endpoint (HTTP)
- Issuer
- X.509 Certificate
The issuer is configurable to allow multiple organizations from the same IdP. It must start with cloudcannon.com/. Leaving this blank will configure it as cloudcannon.com.
To add these details:
- Go to Organization Settings / SAML
- Fill in all of the fields available and submit the form
Once configured, you will get a screen defining any information you will need. If you require more information than displayed, please contact support.
Okta Setup#
Okta is a popular Identity Provider. To use Okta SAML with CloudCannon follow these instructions:
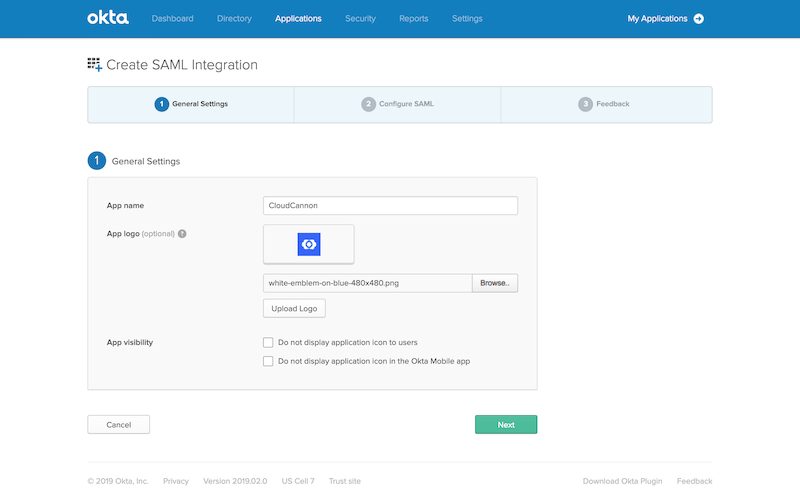
Create app#
Create a new SAML 2.0 application on Okta for CloudCannon.
Configure Okta#
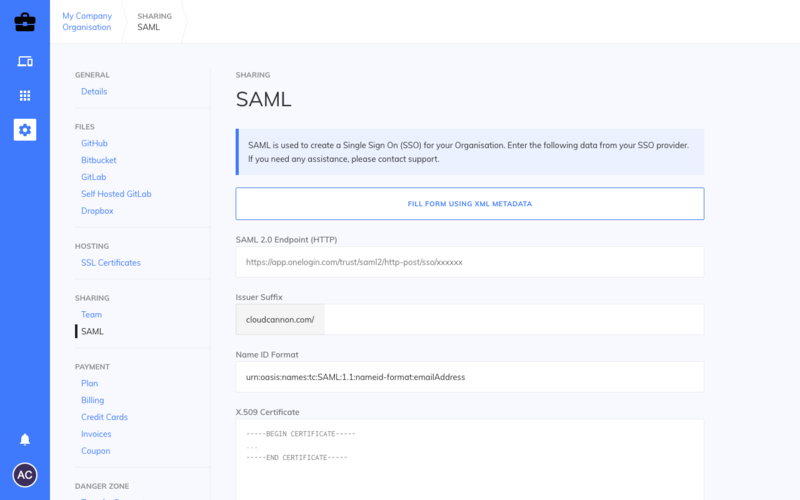
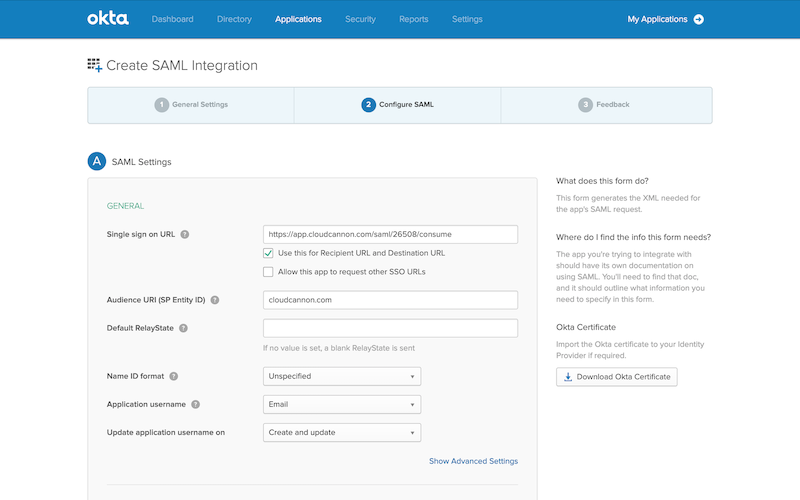
Go to CloudCannon and open Organization Settings / SAML. Copy your Issuer and Consume URL. If you do not have a SAML option in your menu contact support to get this enabled.
Enter the Issuer and Consume URL information into Okta.
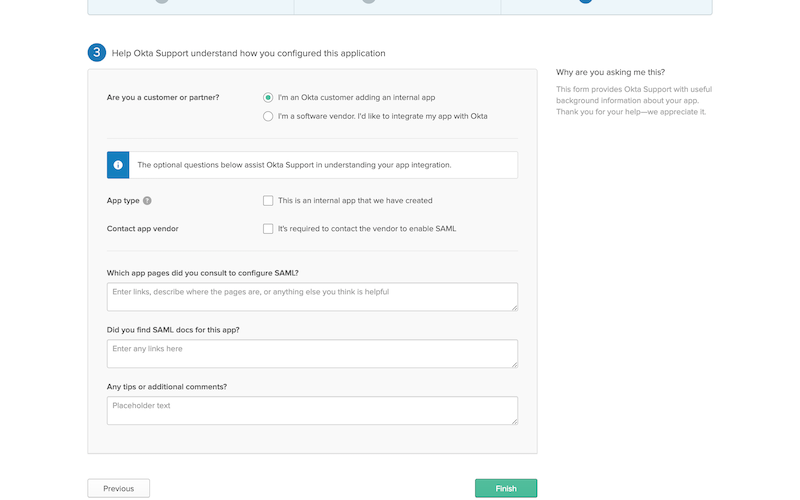
And confirm you’re using CloudCannon as an internal application.
CloudCannon Configure#
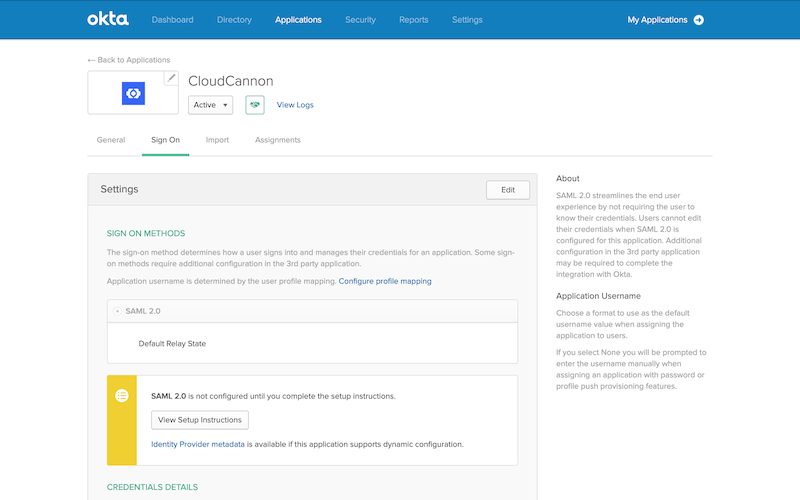
View the setup instructions for your newly created application on Okta.
Copy the Identity Provider Single Sign-On URL and X.509 Certificate.
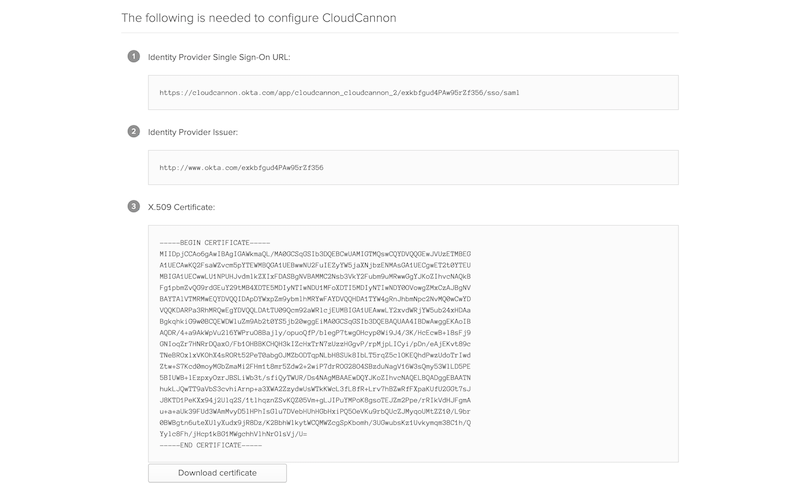
Enter the Identity Provider Single Sign-On URL and X.509 Certificate information into CloudCannon.